HOW TO CREATE/ADD A PAYMENT LINK
You can designate a name for your payment link, allowing your customers to settle invoices. The concept behind the payment link is to facilitate transactions for your business, especially if you lack an advanced e-commerce platform. This enables you to send a link to your customers, simplifying the process for them to enter their credit card information and complete the required payment.
You also have the option to make several payment links.
STEPS
Step 1: Log in to your user account by visiting https://merchant.shuttleglobal.com/login
Provide your email address and password, then click on "Sign in".
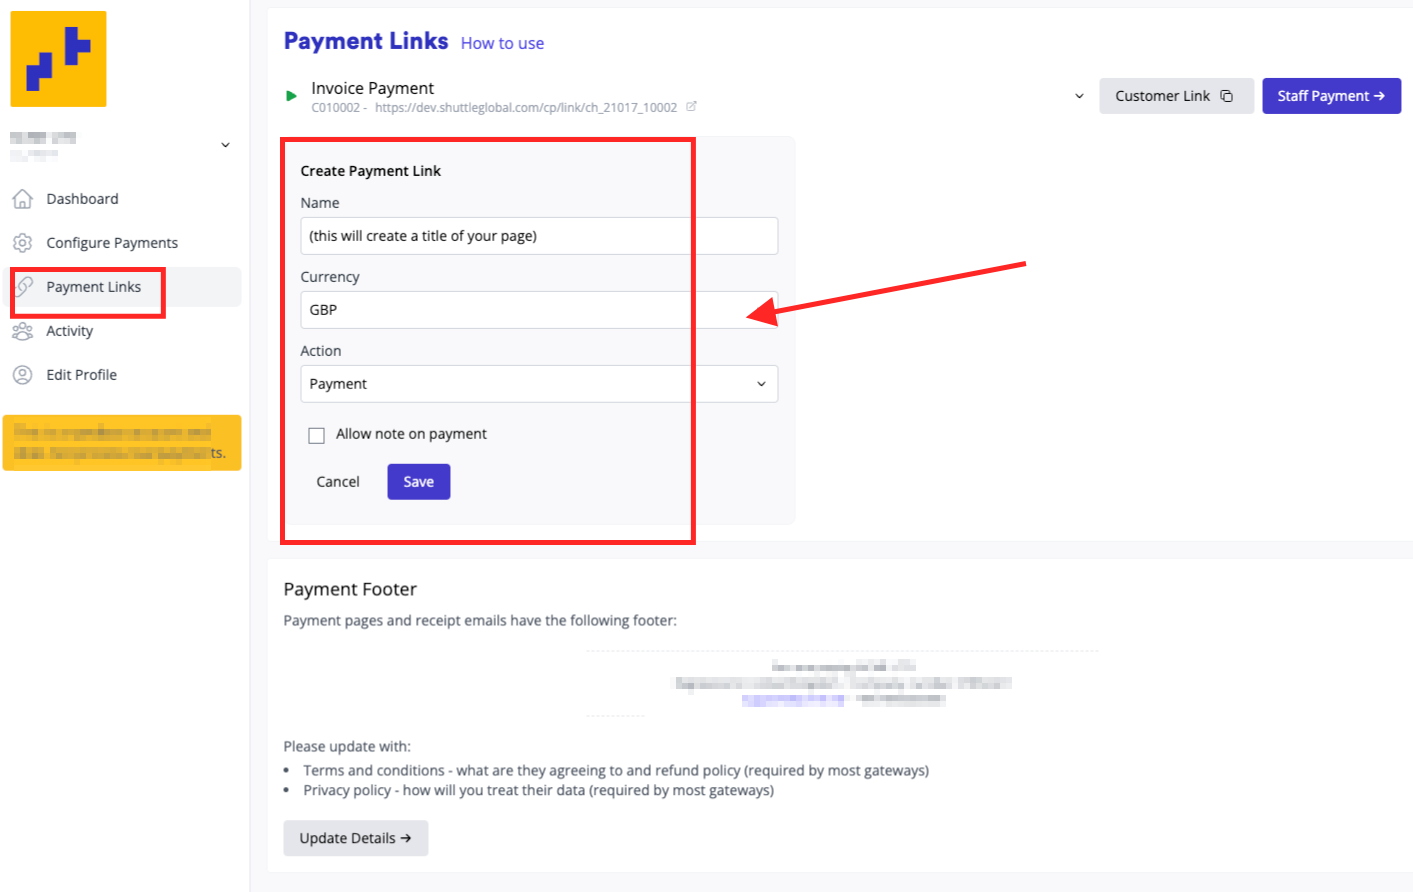
Step 2: After configuring your processor link, it will generate a small page, allowing you to create a title for it.
- NAME : the page title intended for your customers to see
- CURRENCY: desired currency
- ACTION: for Payment or Authorise (requires manual capture)

Step 3: Then, click "Save".
CREATING ANOTHER PAYMENT LINK
Step 1: Log in to your user account by visiting https://merchant.shuttleglobal.com/login
Provide your email address and password, then click on "Sign in".
Step 2: Navigate to the "My Apps" section located on the left-hand side and select an existing payment link.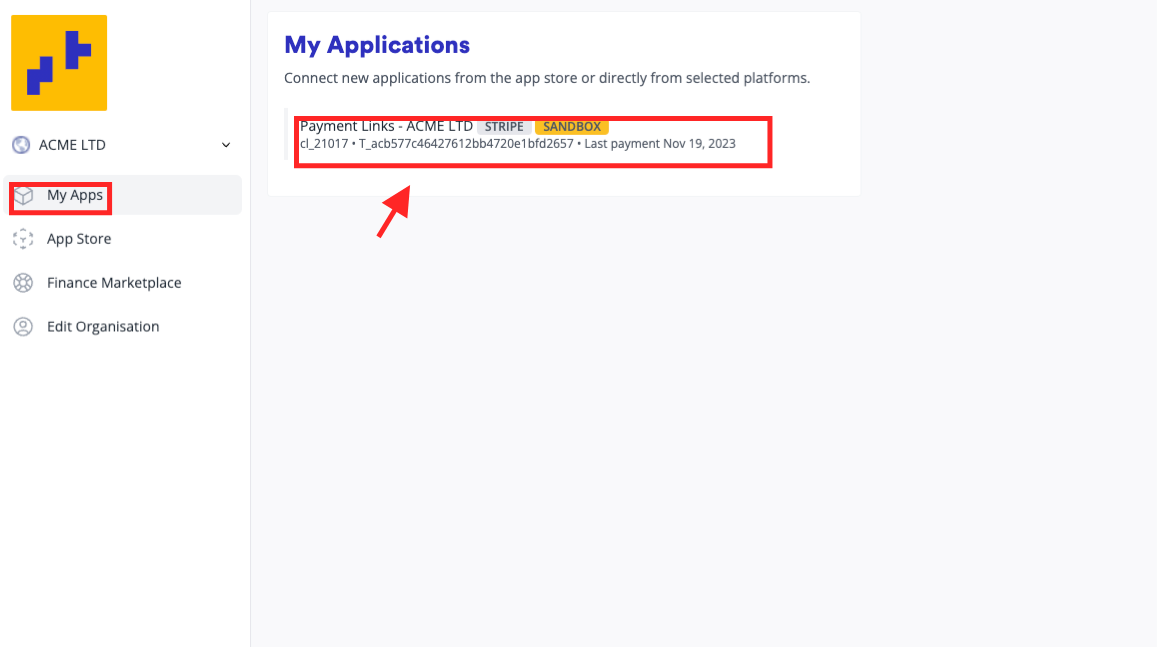
Step 3: It will show your Dashboard and scroll down to the the Payment Links section on the left side of the screen. Select the "Create Another Link" tab to proceed.

Step 4: Complete the fields to generate a title for it. Then, click "Save".
- NAME : the page title intended for your customers to see
- CURRENCY: desired currency
- ACTION: for Payment or Authorise (requires manual capture)