
Stripe - Apple Pay
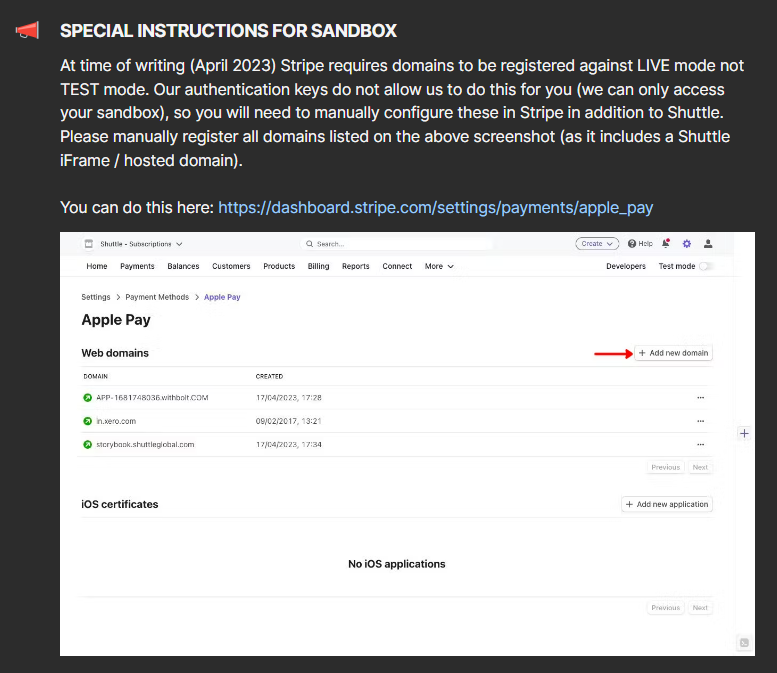
To use Apple Pay, you must first register the domains you will be hosting checkout from in Stripe (How to connect Stripe : Shuttleglobal.com/kb/stripe ). You do this by passing them to Shuttle when creating an instance in the checkout_urls field of the instance as an array.
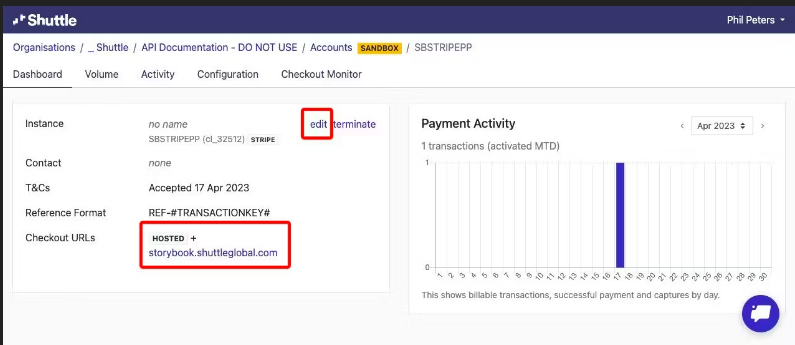
For example, if your customer will be paying on “https://shop123.platform.com/cart” you would need to register shop123.platform.com in the array of checkout_urls . You can also update this manually in the developer portal.
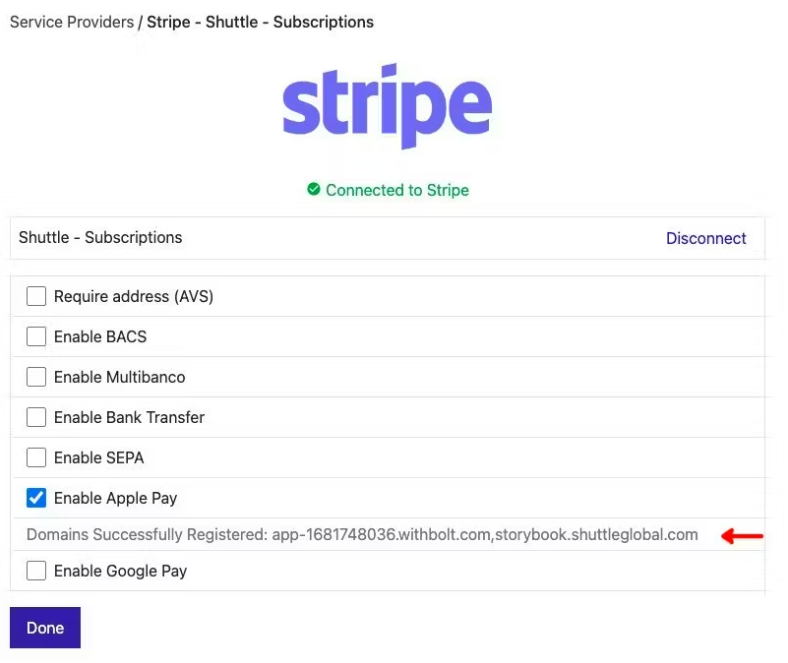
When you enable Apple Pay in Shuttle’s Stripe configuration, Shuttle will register these domains with Stripe, and displayed the registered domains. If you add any additional domains, you will need to resave your Stripe configuration to ensure the additional domains are registered.
Stripe will check you are hosting a specific file on the domains you register, so you must make sure any domains you host are correctly proxied to Shuttle as per the instructions here:
https://api.shuttleglobal.com/#7d642930-cef7-4865-9828-7fe19e968ea0
Apple Pay will only display:
- On Safari Browser or IOS browsers where configured on the device (check window.ApplePaySession.canMakePayments()).
- On TLD domains registered on both Stripe and Shuttle (and displayed in the Stripe config page),
- You must also be using Shuttle.js 1.3 or later loaded in the top frame (ie not in an iFrame)