
Connecting Authorize.Net
Setup
Connecting to Authorize.NET is an OAUTH process, this requires you to log into Authorize.NET, which then shares a security token with us. To complete this you need the Authorize.NET login for the account owner - any other user login wont correctly return from Authorize.NET to complete the oauth process.
Tip! Don’t miss the section on the page about configuring webhooks.
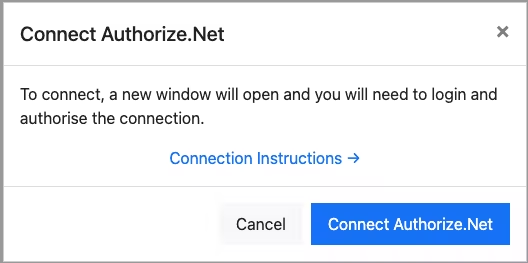
- When prompted, select “Connect Authorize.NET” to login to your Authorize.NET Account.
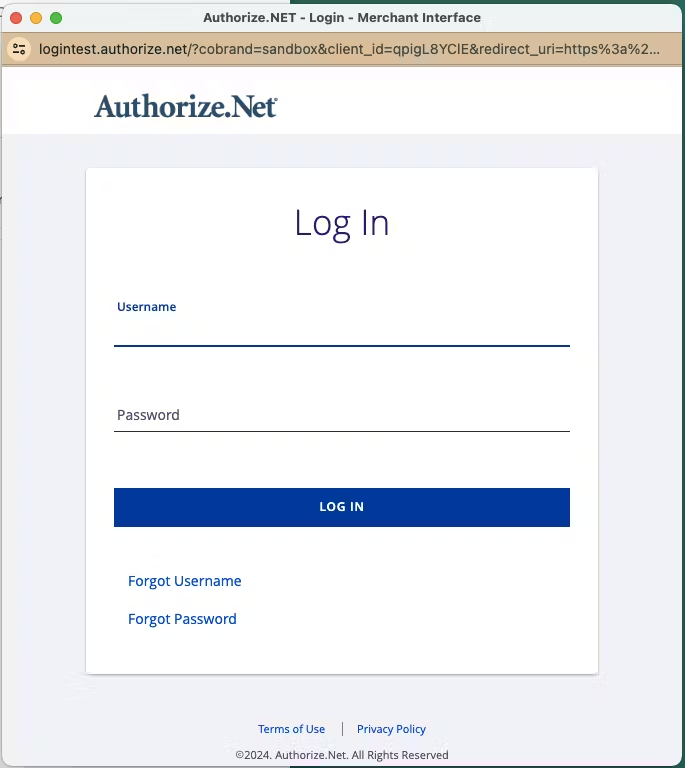
2. This will open Authorize.NET, you must login as the account owner. If you log in as a user with a different role profile, it will take you to the Auth.NET dashboard.
Tip! The application will be listed as “Shuttle” who we partner with.
3. If requested select “Allow”, which will then close the popup.

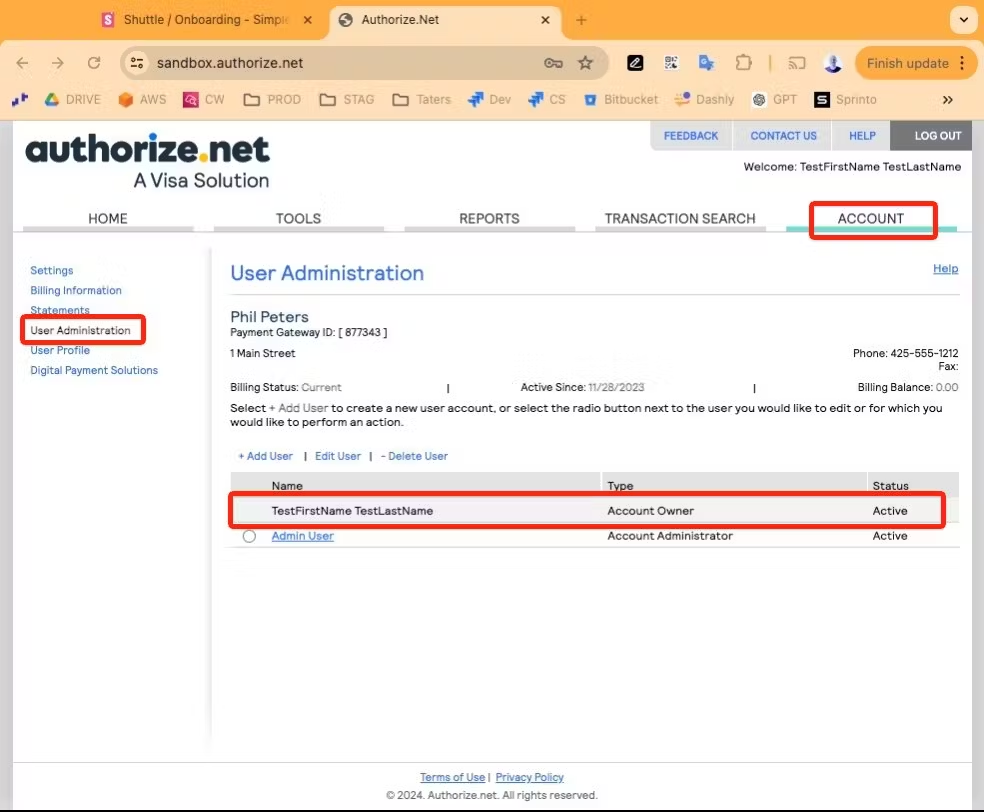
Tip! If this page doesn’t present or you are taken to the Authorize.NET dashboard, you are not logging in as the account owner. To check navigate to: “Account → User Administration” and find the user with type “Account Owner”.
4. When you are returned to the app, the connection will be tested and you will be presented a green “Connected to Authorize.Net” message, if there is an error with the connection, use the “Reconnect” button however take care to connect to the same account, otherwise, saved payment methods and refunds will return an error message.

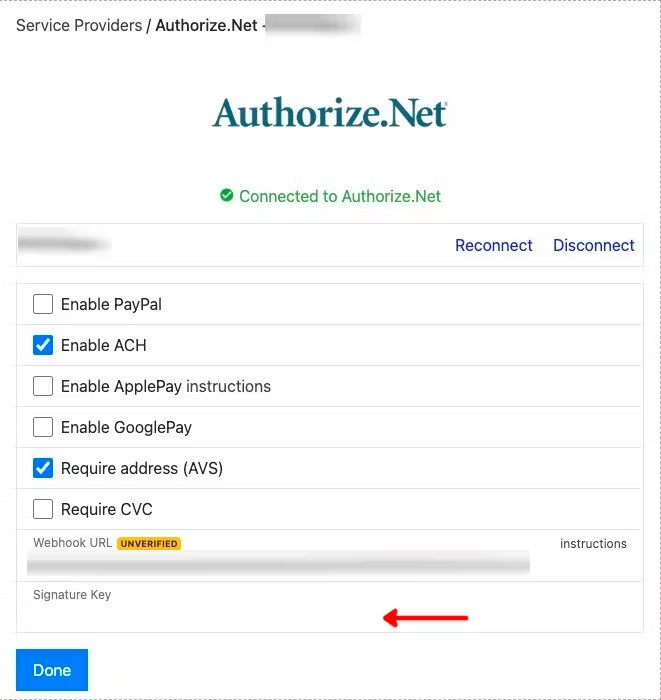
Our integration with Authorize.Net offers several options:
- Enable PayPal: This will enable PayPal via Authorize.NET, we strongly recommend against using this, but rather connect directly to PayPal via PayPal Commerce. Many PayPal features, capabilities and debugging options are lost if you send transactions via Authorize.NET rather than PayPal directly. Its likely this feature will be removed for new accounts at some point.
- Enable ACH: This will enable ACH as a payment method, you must also enable this option on Authorize.Net
- Require address (AVS): This will require customer enter their billing address
- Require CVC: This will force users to re-enter a cards CVC when using a saved card.

When configuring a connection to Authorize.NET, we wants try to configure a “webhook endpoint” on your Authortize.NET account. It requests notifications for the following events:
"net.authorize.payment.fraud.approved"
"net.authorize.payment.fraud.declined"
"net.authorize.payment.authorization.created"
"net.authorize.payment.authcapture.created"
"net.authorize.payment.capture.created"
“net.authorize.payment.refund.created”
“net.authorize.payment.void.created”
This provides support for the following use cases:
- Transactions held for review due to a merchant fraud rule. These transactions will show up as “In Progress” in Shuttle, in either a UNRESOLVED or PENDING status. Without webhooks enabled the merchant is responsible for manually marking these transactions as approved or declined in Shuttle in addition to Auth.NET. With webhooks, the merchant is only required to approve the transaction in Authorise.NET, and it will be automatically synced to Shuttle.
- Gateway instructed captures, voids and refunds. If the merchant logs into Authorize.NET and manually captures an authorisation or refunds a payment, this would not show in Shuttle. By enabling webhooks we will automatically reflect these actions and pass them onto the source system.
To configure webhooks the merchant must configure a “Signature Key” on Authorize.NET before, and update Shuttle with that configuration. Unfortunately Authorize.net does not enable Shuttle to do this on a merchant’s behalf.
Tip! “Webhooks not configured” warning does not stop you from processing payments, however transactions held for review will get “stuck”.
To configure webhooks, follow the below instructions:
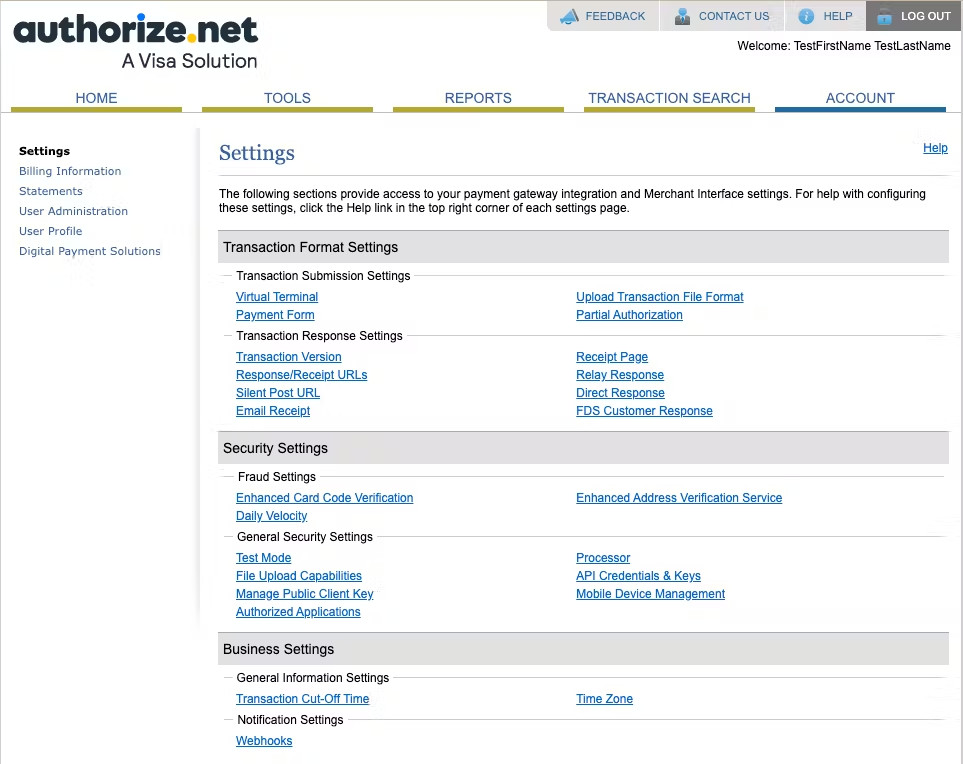
- Select “Account” Menu
- Select “API Credentials & Keys”
4. Select “New Signature Key” and “Submit” (do not disable your old signature if you are using webhooks with another system).
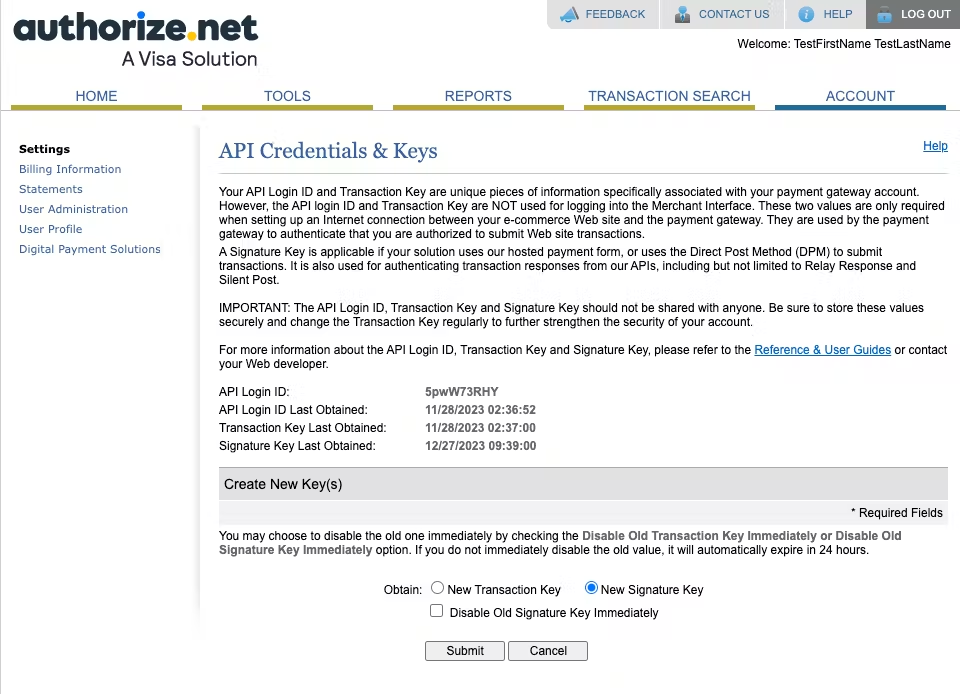
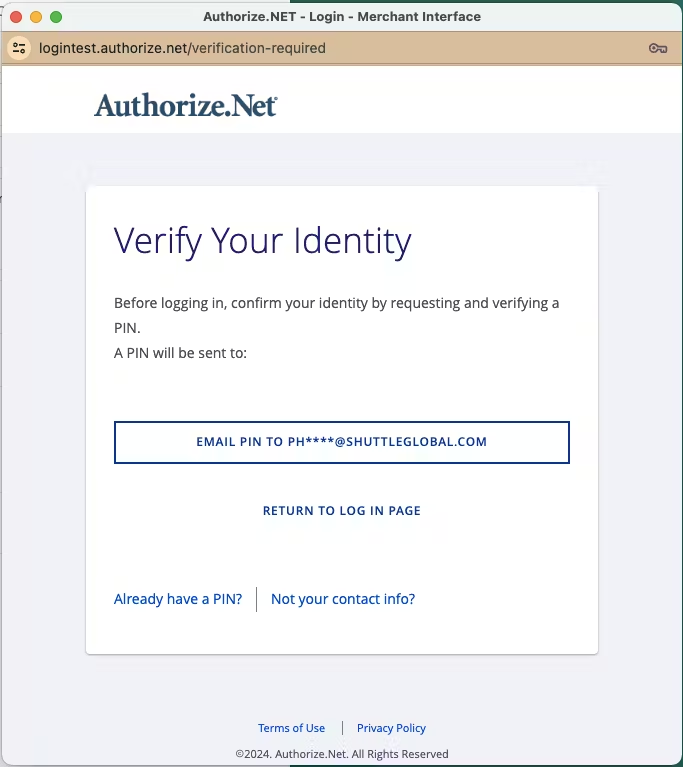
5. Complete the Auth.NET verify your identity.
6.
7. Record the “Current Signature Key”.
8. 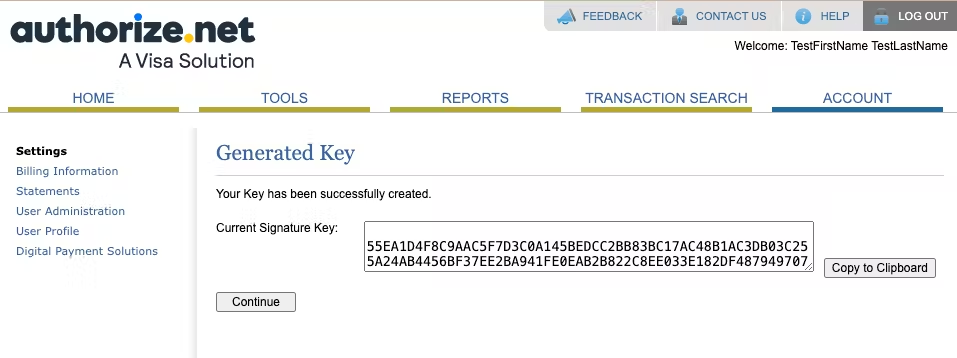
9. Enter this into the “Signature Key” field in Shuttle and “Save”.
10. 
11. Shuttle will then install itself as a webhook endpoint on your account and trigger a webhook via requesting a transaction on an invalid card number that will be declined.
Upon receiving the webhook, the “UNVERIFIED” label will be replaced with:
- VERIFIED: If everything was successful
- UNSIGNED: If the signature key did not match, in this scenario please follow the steps again.
Please note, accounts where Webhooks are UNVERIFIED or UNSIGNED will ignore webhook updates.
FAQs
Q: When saving a card I get the error “createCustomerProfileRequest failed (Customer Information Manager is not enabled. (code: E00044))”
This means that Customer Information Manager (CIM) is not enabled for your Authorize.net account.
Fix:
- Log in to the Authorize.net Merchant Interface (sandbox or production as appropriate).
- Go to Account > Customer Information Manager.
- Click Sign Up or Enable if it isn’t already.
Once CIM is enabled, the error should stop.
Q: Some ACH transactions are recorded as successful but did not go through
Auth.NET does not reflect ACH declines which must be managed off system (please refer to https://support.authorize.net/knowledgebase/Knowledgearticle/?code=KA-04424)